Wall graphics are designed for fast application, making decorating a space simple. They come in various designs, sizes, and colors and can be customized to fit any style or preference. Here are steps to follow for applying graphics to your walls:
Clean the Wall Surface
Clean your walls to remove any dust, dirt, and grease that may be present. If your walls are painted, confirm the paint is dry before applying the graphics. Use warm water and mild detergent to wash down the surface. Later use a lint-free cloth to make it completely dry. Cleaning the wall surface could mean the difference between a successful application and one that doesn’t hold up over time.
Measure and Mark
Measure out how big your graphic ought to be and mark it with a pencil. This can help you identify where you need to begin to apply it. Confirm there are no gaps between your marks so that the graphic can fit perfectly on the wall.
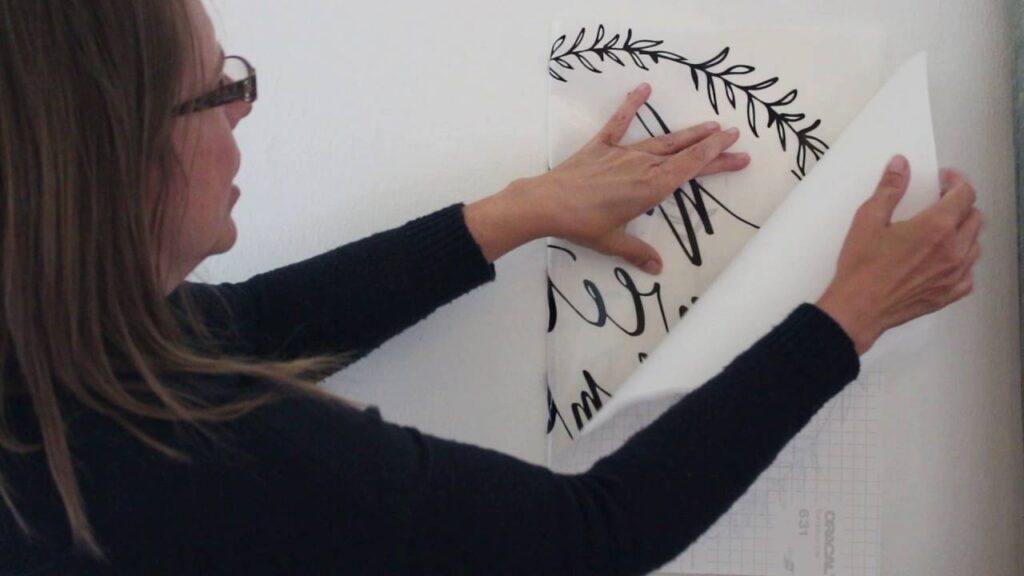
Position the Graphic
Place your graphic on the wall exactly where you marked it. Confirm that it is as straight as possible using a level or ruler if needed. You can also use painter’s tape to hold the graphic in place as you work on it.
Peel off the Backing
The backing material is a thin layer of vinyl or paper that helps keep the adhesive side of the graphic clean and free of dust or dirt. When you remove this material, be careful not to let any dust or dirt get on the adhesive side of the graphic, as this could cause it not to stick properly. Do not let the back side of the graphic come into contact with any surface after the backing has been removed.
Smooth It Out
Once you have removed the backing material, place the graphic on the areas you measured. Press firmly on each corner of the graphic with your fingers. This can help prevent air from being trapped between the wall and the graphic. It can contribute to the graphic sticking well in place. Use a squeegee to go over every inch of your graphic and smooth out bubbles or creases.
Trim the Edges
Trim any excess material from around the edges of your wall graphic with scissors or a sharp knife. Avoid cutting too close, as this could damage your wallpaper and walls.
Let It Dry
Depending on what type of material your wall graphic is made from, this process can take several hours or a few days to dry. Avoid rushing this step, as cutting corners can result in an uneven finish or damage to your walls over time. Resist touching or playing with your new wall graphic until it has completely dried to avoid smudging or wrinkling it.
Benefits of Applying a Wall Graphic
Cost-effective Decorating Solution
Wall graphics are often more affordable than traditional wallpaper or paint. This makes them a great option for those looking for an inexpensive way to spruce up their walls. Since they come in many different sizes and styles, you can find one that fits your budget.
Durable and Long-lasting
Wall graphics are made from durable materials that can withstand wear and tear over time without losing their vibrancy or integrity. This makes them perfect for high-traffic areas such as living rooms, hallways, kitchens, and bathrooms. You can also find extra durable graphics that are made for outdoor spaces.
Easy Maintenance
Unlike wallpaper which requires regular cleaning and upkeep, wall graphics require very little maintenance over time. You can care for them by keeping dust away from the edges of your graphic, and it should stay as good as new.
Make Use of Wall Graphics Today
Wall graphics are a great way to add a unique touch to any room in your home or office. Choose the right graphics for your space, prepare your walls properly, and apply the graphics to enjoy a flawless finish.