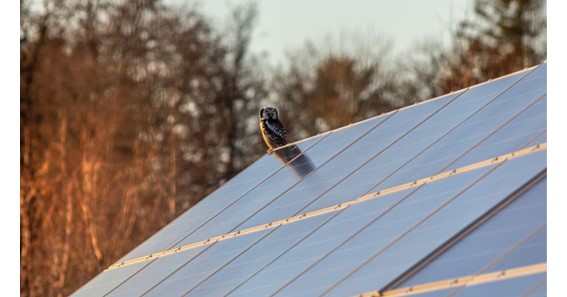
Solar roofing is an environmentally friendly solution that allows you to produce clean energy from your roof. By converting sunlight into electricity, you can significantly reduce reliance on fossil fuels and save money on electricity bills.
This article discusses the process of solar roofing installation, from initial planning to site evaluation and final installation.
The Step-by-Step Guide to Installing Solar Roofing
Assessing Your Home’s Suitability for Solar Roofing
Adequate sunlight is essential to ensure your roof’s ability to generate power. Ensure there are no obstructions, such as tall trees or neighboring buildings. South-facing roofs with minimal shading provide optimal conditions for solar energy production.
Exploring Solar Roofing Technologies
Solar roofing technology has evolved, providing various options to choose from. Here are some popular solar roofing systems:
- Solar Shingles: These are designed to blend seamlessly with traditional asphalt shingles, providing a discreet and integrated solar solution.
- Solar Tiles: Similar to solar shingles, solar roof tiles are specially designed tiles that incorporate photovoltaic cells to convert sunlight into electricity.
- Solar Roofing Sheets: Solar roofing sheets are large, durable panels that are made of high-quality photovoltaic cells.
Hiring Professionals or DIY Installation
Deciding whether to hire a solar roofing contractor or undertake a DIY installation is an important decision. Here are some factors to help you make an informed decision:
- Complexity and Expertise: Solar roofing installation requires technical knowledge in roofing and electrical work. Hiring an expert is the right choice if you lack experience in these areas.
- Safety: Working on rooftops can be hazardous. Solar roofers are trained to work at heights and follow safety protocols to minimize risks. They also have insurance coverage in case of accidents.
- Time: DIY installations can be time-consuming and may require a learning curve. Hiring professionals saves time and ensures efficient installation.
Removal of Existing Roofing Materials
Before installing solar roofing, remove the existing roofing materials in the designated areas. This step ensures a clean and stable surface for installing solar shingles, tiles, or sheets.
Installing Solar Mounting System
A mounting system is required to attach the solar roofing components to the roof securely. This system creates a sturdy foundation and ensures proper alignment for maximum energy production.
Placing Solar Roofing Components
Once the mounting system is in place, carefully position the solar roofing components on the roof according to the manufacturer’s instructions. Each piece should be securely attached to the mounting system, ensuring a tight and weather-resistant fit.
Connecting the Solar Roofing Components
After the solar roofing materials are properly positioned, the next step is to connect them electrically. This involves carefully wiring each solar shingle or tile and creating a series or parallel circuit. Ensure that all connections are secure and follow proper safety guidelines.
Sealing and Weatherproofing
Apply appropriate sealants and weatherproofing materials to protect the solar roofing system from the elements. This prevents water leakage and provides a durable barrier against moisture and external factors.
Testing and Commissioning
Once the solar roofing installation is complete, conduct thorough testing and commissioning to ensure everything is functioning as expected. This includes verifying electrical connections, monitoring energy production, and confirming the system meets safety standards.
Key Takeaways
Solar roofs allow you to generate clean electricity, reduce fossil fuel use, and save money on electricity bills. It also increases property value and attracts environmentally conscious buyers who prioritize energy-efficient homes.
Here’s the process of installing a solar roof for your home:
- Ensure your roof receives adequate sunlight.
- Choose from various solar roofing systems, including solar shingles, tiles, and sheets.
- Consider factors such as complexity, expertise, safety, and time when deciding whether to hire professionals or take a DIY approach.
- Remove existing roofing materials and securely attach the mounting system to provide a solid foundation for the solar roofing components.
- Position the solar roofing components according to the manufacturer’s instructions, ensuring a secure and weather-resistant fit.
- Wire the solar shingles or tiles to create a series or parallel circuit.
- Apply suitable sealants and weatherproofing materials to protect the solar roofing system from water damage and external elements.
- Thoroughly test the solar roofing installation to ensure proper electrical connections, monitor energy production, and confirm compliance with safety standards.
Click Here – The Power of Lifelong Learning: 7 Reasons Why Learning Is Cool To Do


